
Hello Guys, Welcome to AndroidPlus. In our last tutorial we learned to create the Android GUI calculator. Today we shall see some other types of buttons in android like radio button, checkbox, toggle button etc. and will also see the use of Toast Notification.
Layout-
Create a XML file and name it home.xml and paste the following code in it-
<RelativeLayout xmlns:android="http://schemas.android.com/apk/res/android"
xmlns:tools="http://schemas.android.com/tools"
android:layout_width="match_parent"
android:layout_height="match_parent"
android:paddingBottom="@dimen/activity_vertical_margin"
android:paddingLeft="@dimen/activity_horizontal_margin"
android:paddingRight="@dimen/activity_horizontal_margin"
android:paddingTop="@dimen/activity_vertical_margin"
tools:context=".Home" >
<TextView
android:id="@+id/textView1"
android:layout_width="wrap_content"
android:layout_height="wrap_content"
android:layout_alignParentTop="true"
android:layout_centerHorizontal="true"
android:layout_marginTop="52dp"
android:text="AndroidPlus"
android:textAppearance="?android:attr/textAppearanceLarge" />
<Button
android:id="@+id/button1"
android:layout_width="fill_parent"
android:layout_height="wrap_content"
android:layout_alignParentBottom="true"
android:layout_centerHorizontal="true"
android:layout_marginBottom="148dp"
android:text="Click Me" />
<CheckBox
android:id="@+id/checkBox1"
android:layout_width="wrap_content"
android:layout_height="wrap_content"
android:layout_above="@+id/button1"
android:layout_alignLeft="@+id/button1"
android:layout_marginBottom="42dp"
android:text="Use the Calculator" />
<ToggleButton
android:id="@+id/tb1"
android:layout_width="wrap_content"
android:layout_height="wrap_content"
android:layout_alignBottom="@+id/checkBox1"
android:layout_toRightOf="@+id/textView1"
android:text="ToggleButton" />
<RadioButton
android:id="@+id/radioButton1"
android:layout_width="wrap_content"
android:layout_height="wrap_content"
android:layout_above="@+id/tb1"
android:layout_alignLeft="@+id/checkBox1"
android:text="RadioButton" />
</RelativeLayout>
Your layout should look like this, you can also make your own layout:
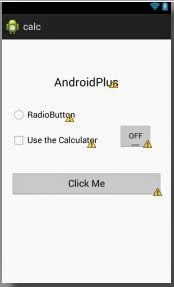
*note: do not change the id of Buttons.
Java Code-
Create a Java file and name it Home.java and paste the following code in it.
package com.example.calc;
import android.os.Bundle;
import android.app.Activity;
import android.content.Intent;
import android.view.Menu;
import android.view.View;
import android.view.View.OnClickListener;
import android.widget.Button;
import android.widget.CheckBox;
import android.widget.RadioButton;
import android.widget.Toast;
import android.widget.ToggleButton;
public class Home extends Activity {
Button b1;
CheckBox c1;
ToggleButton tb;
RadioButton rb;
@Override
protected void onCreate(Bundle savedInstanceState) {
super.onCreate(savedInstanceState);
setContentView(R.layout.home);
b1 = (Button) findViewById(R.id.button1);
c1 = (CheckBox) findViewById(R.id.checkBox1);
tb = (ToggleButton) findViewById(R.id.tb1);
rb = (RadioButton) findViewById(R.id.radioButton1);
b1.setOnClickListener(new OnClickListener() {
@Override
public void onClick(View arg0) {
// TODO Auto-generated method stub
if(c1.isChecked()&&tb.isChecked()&&rb.isChecked())
{
Toast.makeText(getApplicationContext(), "ALL BUTTONS ARE CHECKED!! :)", Toast.LENGTH_SHORT).show();
}
else
{
Toast.makeText(getApplicationContext(), "please check the checkbox and on the toggle button", Toast.LENGTH_SHORT).show();
}
}
});
}
}
AndroidManifest.xml file-
<?xml version="1.0" encoding="utf-8"?>
<manifest xmlns:android="http://schemas.android.com/apk/res/android"
package="com.example.calc"
android:versionCode="1"
android:versionName="1.0" >
<uses-sdk
android:minSdkVersion="8"
android:targetSdkVersion="18" />
<application
android:allowBackup="true"
android:icon="@drawable/ic_launcher"
android:label="@string/app_name"
android:theme="@style/AppTheme" >
<activity
android:name="com.example.calc.Home"
android:label="@string/app_name" >
<intent-filter>
<action android:name="android.intent.action.MAIN" />
<category android:name="android.intent.category.LAUNCHER" />
</intent-filter>
</activity>
</application>
</manifest>
Understanding the Java Code-
· First we have defined the different buttons type.

· Ischecked() function is check that whether the buttons are pressed or not. C1 is our checkbox and c1.ischecked() is checking that our checkbox is checked or not, see the image-

· Toast is a popup message which appears on screen for few seconds.

Output-
When buttons are not checked-
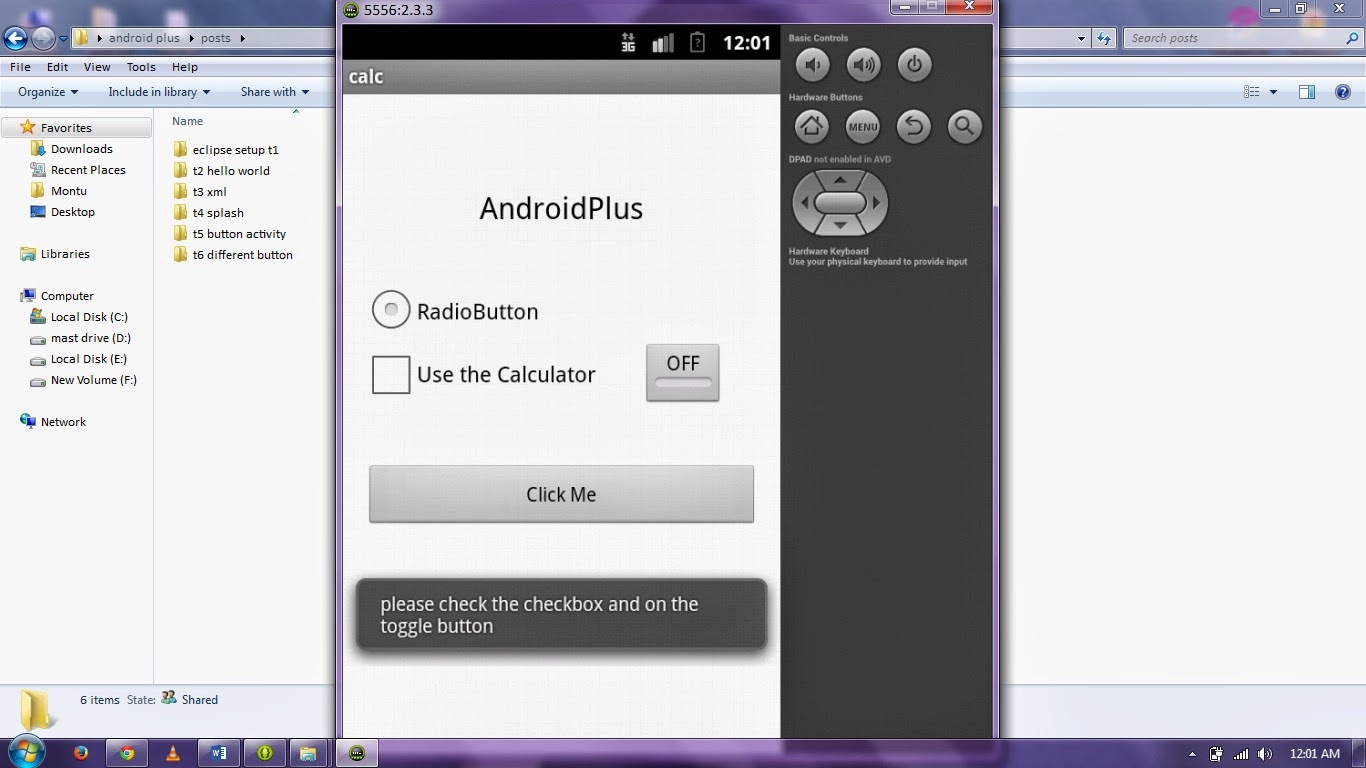
When all buttons are checked-

That’s enough for today, you may have find this tutorial quite boring but in our next tutorial we will make a Media Player App which will we interesting. For any query feel free to comment.
Post a Comment